pyDockSAXS Tutorial
In this tutorial you will find a description of the different steps of pyDockSAXS server:
1. Input data
PyDockSAXS server requires three different files as input in order to perform a rigid-body protein-protein docking using experimental SAXS data (blue dashed rectangle):
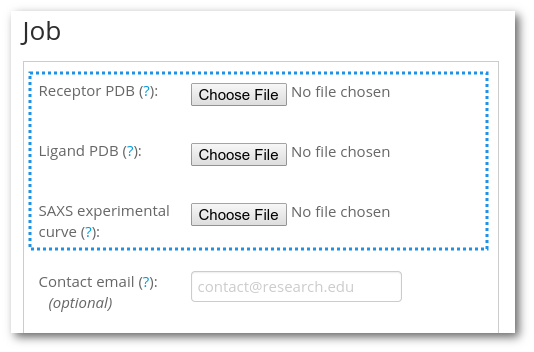
- Receptor PBD: it is the file that contains the molecular complex receptor in PDB format.
- Ligand PBD structure: same as the previous file, but for the molecular complex ligand.
- SAXS curve: a file which contains the experimental SAXS data in CRYSOL compatible format.
The rest of the fields are not required by the server. Optionally, you can load sample data if you click on the "Load sample data" button.
After receptor PDB, ligand PDB and SAXS experimental curve fields have been filled, don't forget to check the "I accept that results from pyDockSAXS..." option and click on "Continue" button to continue with the next step Selecting the chains
2. Selecting the chains
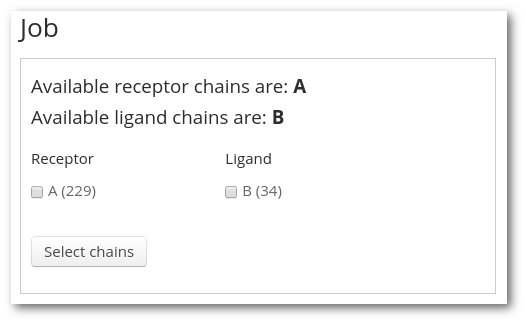
The server parses the PDB files for the receptor and the ligand structures and offers a list of the available chains recognized. At least one chain has to be selected for both receptor and ligand. Note that the number or residues of each chain appears in parenthesis.
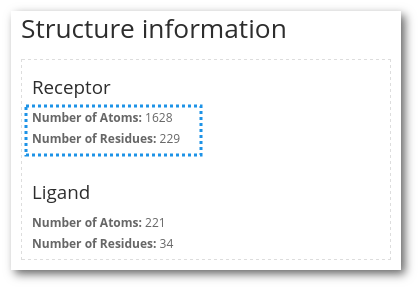
At the left you will find useful information about the number of atoms and residues found by the server for each of the structures:
3. CRYSOL parameters
The server offers the possibility to change some parameters of the CRYSOL execution: constant subtraction and the angular units. This step is only recommended for advanced users familiar with CRYSOL. You can find more information about the parameters in the CRYSOL reference manual.
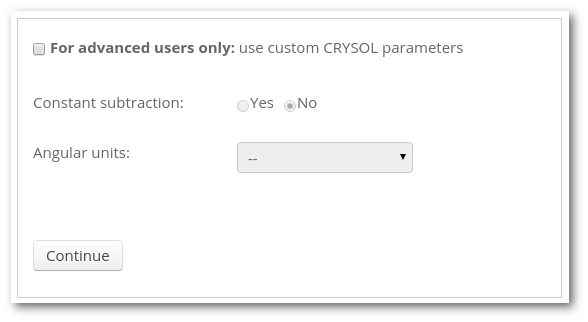 For the purpose of this tutorial, you can skip this step just clicking on "Continue" button.
4. Submitting the job
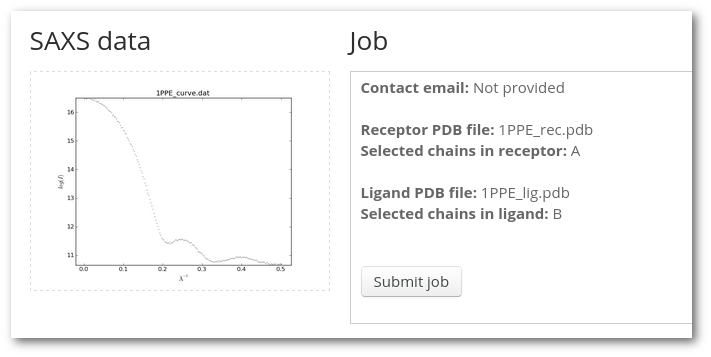
Finally, the last step before sending the job for calculation on the server is a summary of options selected by the user and a plot representing the SAXS curve. If everything is OK, you can click on "Submit" and you will be redirected to the results page.
5. Results page
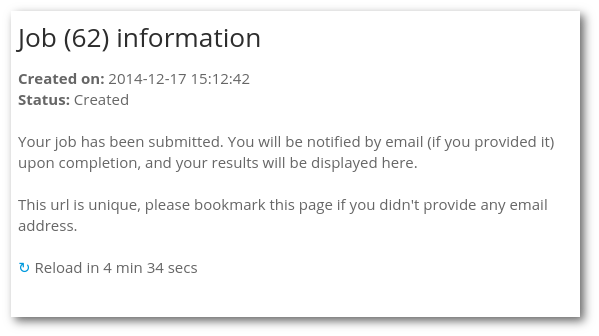
This is the results page where you will be notified about the status of your job (queued, running or calculated) and where the results will appear when the job is finished. This page auto-refreshes every five minutes and it is unique for each job. If you didn't provide any email address it is a good idea to bookmark this page because you will not receive any notification when the job is completed.
 You can have a look at a living sample result page here.
